
Nothing spoils the start of a trip faster than a document problem at check-in. Airlines can refuse boarding if your passport, visa, or booking details do not meet your destination’s requirements, and sorting it out at the airport is rarely possible. Almost every such problem is preventable with one careful check a few days before you fly.
Use the checklist below as your working list. Tick each item off only when the document is valid, matches your booking exactly, and is packed where you can reach it. If you are travelling alone for the first time, working through a step-by-step guide to planning your first solo trip first helps the documents fit into a plan rather than becoming a last-minute scramble.
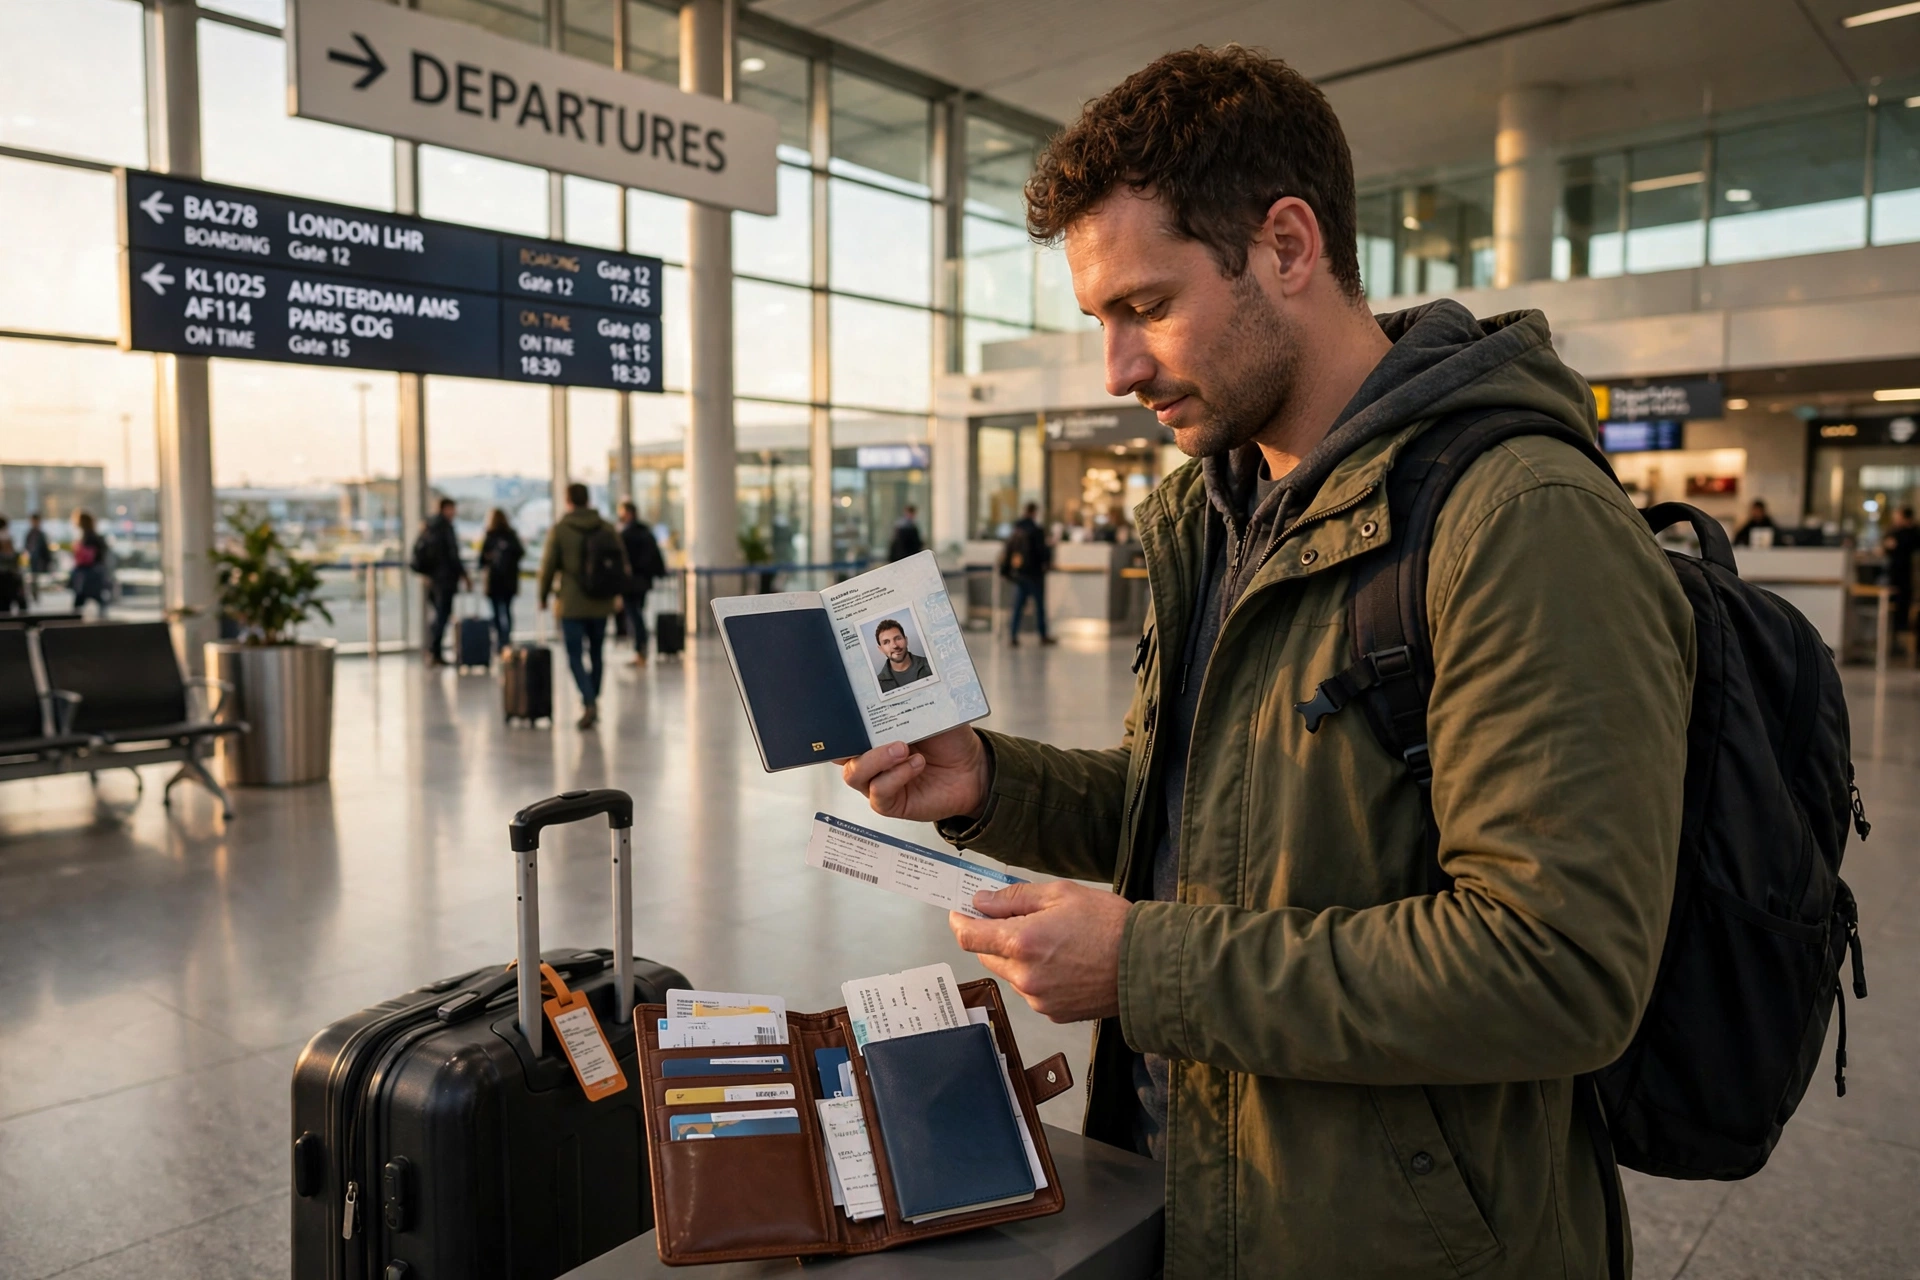
1. Your Passport: The One Document You Cannot Improvise
Your passport is the foundation of everything else, so check it first, well before your travel date.
- Validity: Many destinations require your passport to be valid for six months beyond your planned stay, and some also require one or two blank pages. Do not assume the expiry date printed on the cover is enough; check the specific rule for your destination and nationality with its embassy or consulate.
- Name match: The name on your passport must match the name on your flight booking exactly, including middle names where the airline asks for them. A small mismatch can mean a denied boarding or a costly ticket reissue.
- Condition: A badly damaged passport, including a torn page or a broken chip page, can be refused. If yours is damaged, renew it rather than hoping it will pass.
- Renew early: Passport renewal can take weeks at busy times. If your passport is close to expiry, start the renewal as soon as you book, not the week you fly.
2. Visas and Entry Permission
Whether you need a visa depends on your nationality, your destination, and sometimes on the countries you transit through, so there is no single rule that covers every traveller.
Check the official embassy or consulate website for your destination, or its official e-visa portal, and confirm three things: whether you need a visa or an electronic travel authorisation, how long processing takes, and what you must present on arrival. Apply weeks ahead where possible, and keep both a printed copy and a digital copy of any approval. Do not rely on a social media post or a friend’s experience from a different passport; rules change, and they are applied to your passport, not someone else’s.
Also check transit rules. A long layover in a third country can require a transit visa even if you never leave the airport, so confirm this for every stop, not just your final destination.
3. Flight, Booking, and Accommodation Proof
Immigration officers and airlines may ask for more than your passport. Keep these together and easy to reach:
- Boarding pass: Check in online when it opens, save the boarding pass in your airline app, take a screenshot as a backup, and carry a printed copy if you are unsure about phone battery or airport Wi-Fi.
- Flight confirmations: Keep the booking reference and the full itinerary, including return or onward flights. Some destinations require proof that you plan to leave, so a one-way ticket without supporting documents can raise questions.
- Accommodation details: Carry the name, address, and confirmation for at least your first night’s stay. Officers commonly ask where you are staying, and having the address ready avoids a slow, stressful search at the desk.
- Booking names: As with your passport, confirm that every booking uses the same name spelling. Fix mismatches with the airline or hotel before travel day, not at the counter.
4. Health and Travel Insurance Documents
Health requirements vary widely by destination, so check official health guidance for the country you are visiting rather than guessing.
Carry your travel insurance policy number, the insurer’s emergency phone number, and a short note of what is covered. If you are still choosing a policy, a beginners guide to travel insurance explains what actually matters in a policy, including medical cover and trip disruption, so you can compare plans on substance rather than price alone.
If your destination requires proof of a specific vaccination, carry the original certificate, not just a photo of it. For prescription medicine, keep it in its original packaging, carry only what you need plus a small margin, and take a copy of the prescription or a short doctor’s letter if the medicine is controlled or injectable. Rules for medicines differ by country, so check before you pack.
5. Money, Driving, and Other Supporting Documents
A few supporting documents are easy to forget because they are not asked for on every trip, but they matter when they are needed:
- Payment cards and cash: Carry at least two ways to pay, tell your bank you are travelling if it asks for travel notices, and keep a small amount of local currency for arrival.
- Driving documents: If you plan to drive, check whether your destination accepts your licence or requires an International Driving Permit, and carry both if a permit is needed.
- Work, study, or purpose documents: If you are travelling for work, study, or a longer stay, carry the invitation letter, enrolment confirmation, or other proof of purpose that matches your visa type.
- Identification at home: A second photo ID, such as a national ID card or driving licence, is useful for hotel check-in and domestic legs, and as a backup if your passport is temporarily held.
6. Keep Originals, Copies, and Backups Separate
How you carry your documents matters as much as having them. Keep originals in your personal item, never in checked luggage, so they stay with you even if a bag is delayed. A carry-on packing guide is useful here: the documents pouch should be the first thing you pack and the last thing you check, not something buried under clothes.
Make two sets of backups. First, a paper set: photocopies of your passport photo page, visa, insurance details, and bookings, kept in a different bag from the originals. Second, a digital set: clear scans stored in a secure cloud folder you can reach from another device, plus copies shared with a trusted person at home. If a document is lost or stolen, those copies will make a replacement at an embassy far quicker. Also save emergency numbers separately from your phone: your embassy, insurer, bank’s lost-card line, and airline.
7. Final Check: The Night Before and at the Airport
Run this final pass the night before you fly, then again before you leave for the airport:
- Passport valid, undamaged, and name-matched to your booking
- Visa or electronic authorisation approved and printed as well as saved digitally
- Boarding pass saved in the app, screenshotted, and printed as a backup
- First night’s accommodation address at hand
- Insurance policy number and emergency number saved
- Medicines in original packaging with prescription copy if needed
- Payment cards, driving documents, and purpose letters packed
- Paper and digital copies stored separately from the originals
- Documents pouch in your personal item, not in checked luggage
At the airport, keep the pouch in the same pocket or compartment every time, so you are not searching for it at check-in, security, and immigration in turn.
Frequently Asked Questions
My passport expires in five months. Can I still travel?
It depends on your destination. Many countries require six months of validity beyond your stay, so five months may not be enough even though the passport has not expired. Check the rule for your destination and renew early if you are close to the limit.
Do I still need a printed boarding pass if I have one on my phone?
Usually a phone boarding pass is enough, but a printed copy is a cheap backup against a dead battery, a failed app, or poor airport connectivity. Print one when you can, especially for early or connecting flights.
What should I do if I lose my passport abroad?
Report it to the local police, contact your embassy or consulate with your backup copies and any police report number, and inform your insurer. This is where the separate paper and digital copies in section 6 save real time, so set them up before you leave.
Final Thoughts
A travel documents checklist is not about worrying more; it is about worrying once, properly, and then enjoying the trip. Check your passport early, confirm visa rules from official sources, keep bookings and insurance together, and store backups separately from the originals.